Lilac and Lilies Table Plan – DIY Wedding Craft Project
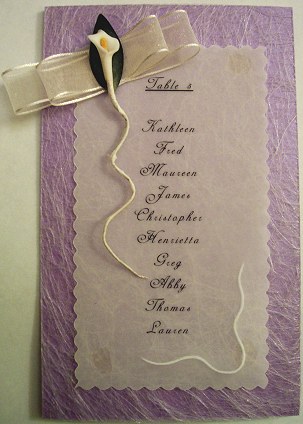 You will need:
White mounting card Lilac pearl card Plain parchment paper White angelwire White paper lilies with stems White voile ribbon Computer with printing facilities Embossing tool and pad Glue dots Double sided tape Glue Scissors Paper trimmer (with scallop edge blade included)
To make the table plan:
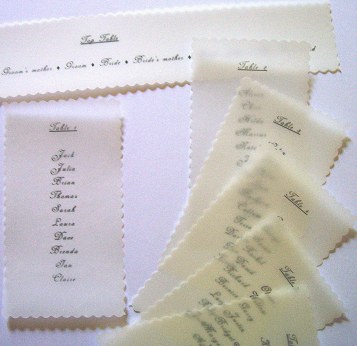
1. Using word processing software, print out lists of names for each table number onto parchment paper. You can choose any text you wish; We have used a font called Adine Kimberg-Script. When writing the top table list, set it out horizontally with bullets between the names, not as a list.
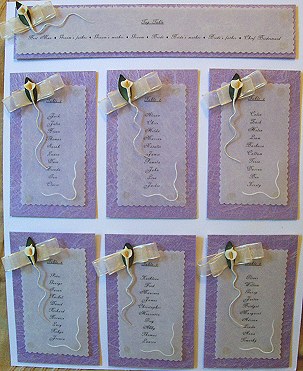
2. Using the scallop edge blade cut out the lists leaving a wide border as shown in the picture.
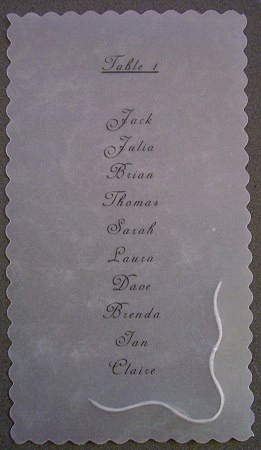
3. Using the embossing tool, emboss a swirled line around the bottom right corner.
4. Cut out a piece of the pearl lilac card for each table. This should be much larger than the parchment to leave a wide border.
5. Cover each piece of lilac card in the angelwire. Do this by cutting a piece of angelwire slightly larger than the card and fold over the corners, sticking into place using double sided tape on the back of the lilac card.

6. Stick the parchment to the lilac card in the centre using glue dots.
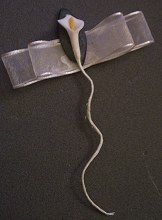
7. Make the bows by folding a piece of the ribbon and sticking in the centre of the bow. Stick one at an angle to the top left of each table list as shown.

8. Bend the stems of the lilies. For the top table the stem should be curving to the right. For the rest of the tables the stem should curve straight down.
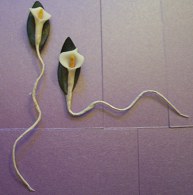
9. Stick a lily onto of the bow as shown using the glue dots.
10. Arrange the tables onto the mounting board with the top table at the top of the board. Cut the board to size and then stick the table lists into place using double-sided tape.
Make matching Lilac and Lilies Place Cards
